Case dimensions do not include accessories
Shop by bow type
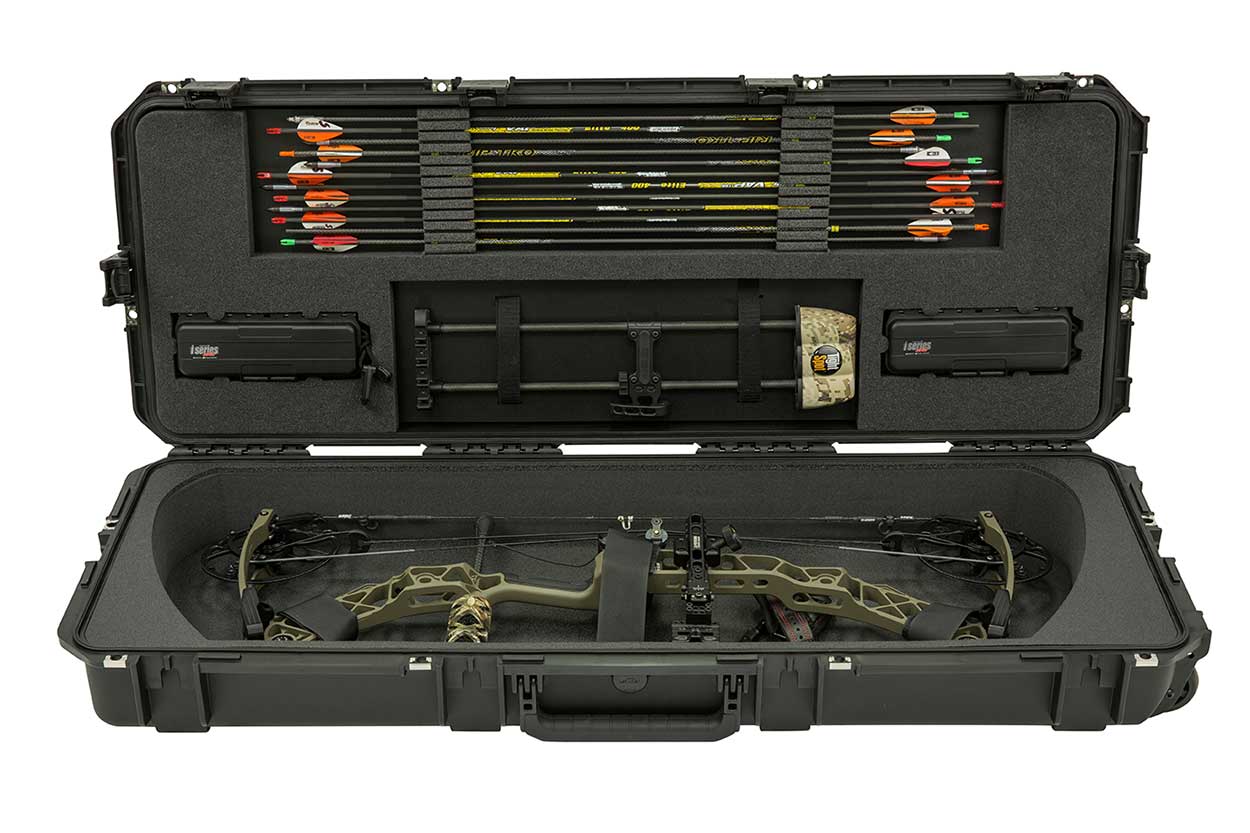
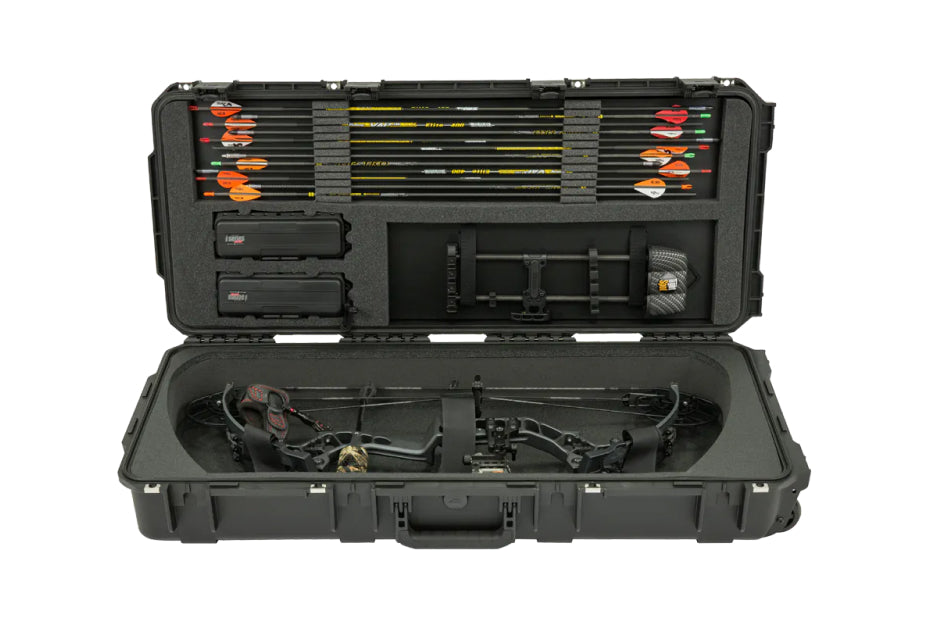
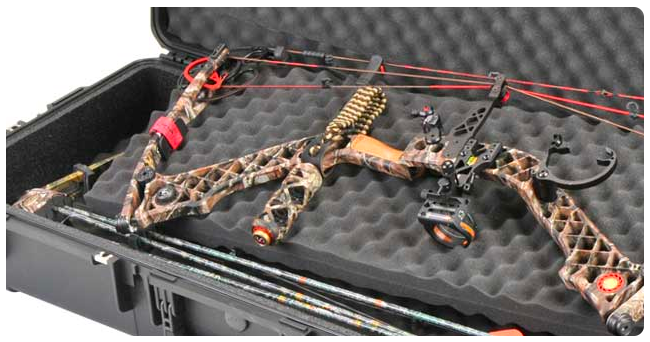
SKB iSeries Medium Parallel Limb Bow Case (39.75") 3i-4214-PL
SKB iSeries Shaped Bow Case (41") 3i-4318-PL
Mathews PHASE4 29 / V3X 29 Case (3i-3614-MPL)
.............
............
Mathews Bow Cases
Hoyt Bow Cases
Ravin Crossbow Cases
Style
Size
Wheeled Bow Cases
Double Bow Cases
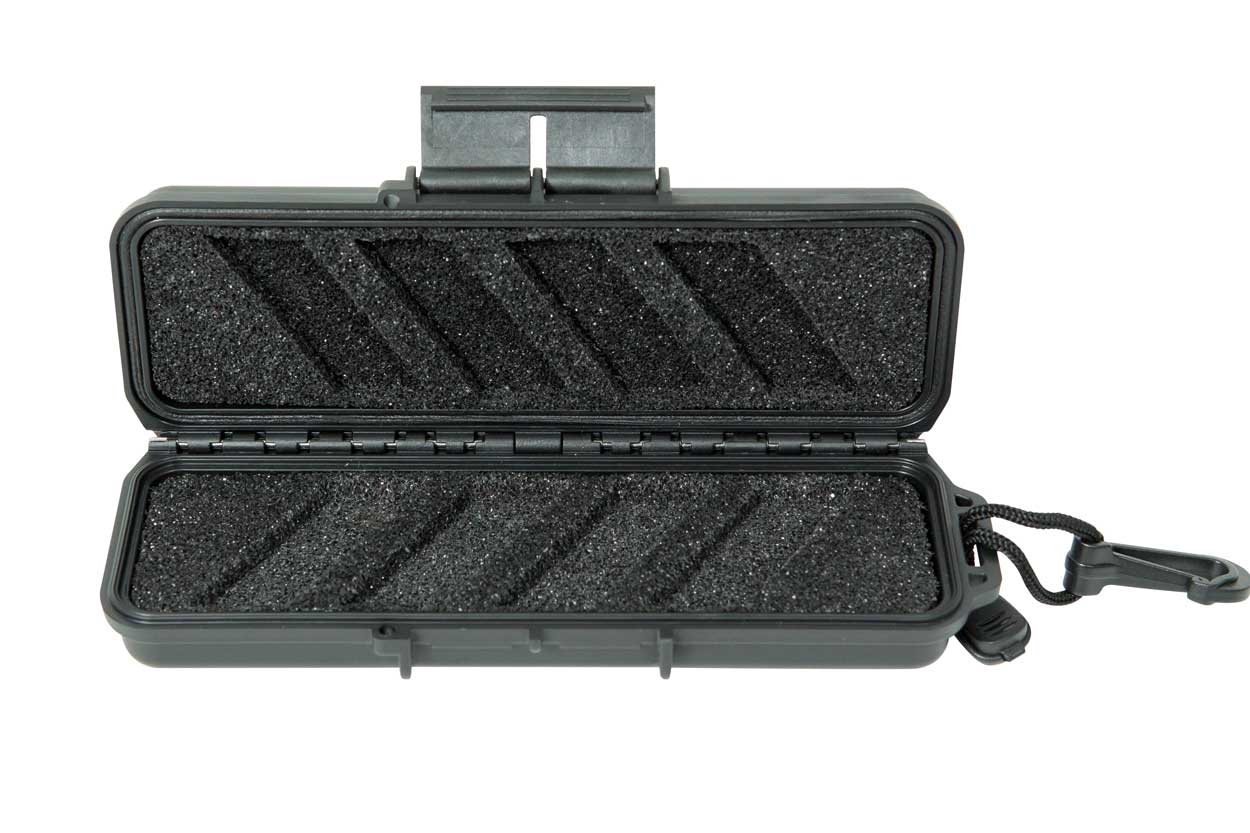
SKB 0702 iSeries Broadhead Case (7") 3i-0702-1B-BH
SKB iSeries Waterproof 9-Broadhead Case (7.5") 3i-0705-3B-BH
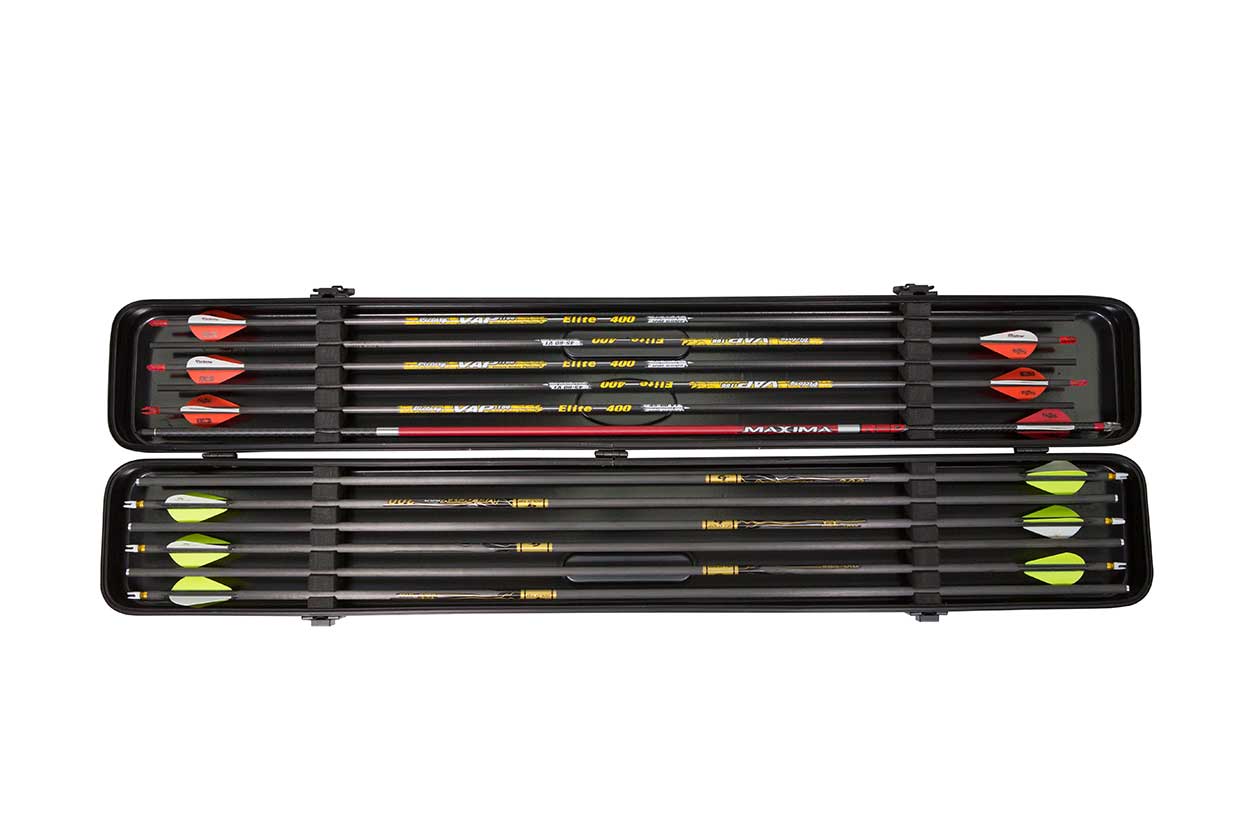
SKB 12-Arrow Case (33.75") 2SKB-3304